Showing posts with label Sassy. Show all posts

Friday, September 27, 2013

I Nailed It #19: Marbly Marble

Hi! Just another quick nail art before getting to bed. ^^

A couple of weeks ago, I watched Lee Hong Ki of FT Island do a few nail art styles on an episode of Get It Beauty. I think he totally loves the whole nail art thing since he even published a book about it and he totally rocks the designs he does. Anyway, I saw him do a marble kind of nail art and decided to try it out.

Here are the polishes I used (L-R): OMG in Mojito, Girl Stuff in Avo Loco, OMG in Strobe, OMG in Gossip, Sassy in Blue?, Etude House Look at My Nails in Strawberry Milk
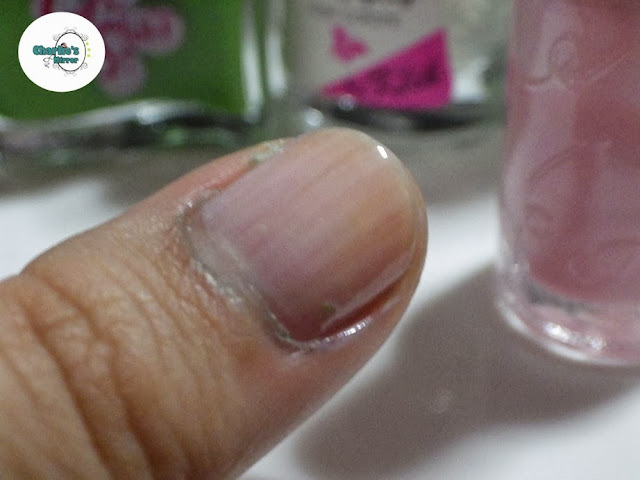

I put on a coat of Strawberry Milk, then blob a few drops of each color. Lee Hong Ki advised to use only a few drops of the dark color since it's harder to blend (or marble). Let it dry and put on your favorite top coat. (Mine is Strobe ^^)


I call it a hot mess...^^ I actually like this kind of nail art because even if it chips, it doesn't show much since the base coat is almost transparent. I'd probably try marbling other colors but I love this combination. It's so...mermaid-ish.

Anyways. Have a great weekend. ^^ Cheerio!

Sunday, July 28, 2013

I Nailed It #14: Lemonade

Hello! When I need a break from just everything, I take out my nail polishes and just make a mess on my nails. ^^ But it also helps when I see awesome inspirations on the Internet, kinda like this one from one of my most favorite beauty sites ever, The Beauty Department. From my sea-green and blue ombre hair to my nail art attempts, The Beauty Department was part of just everything.

This is their most recent Mani Monday entry and it just looked so cool so I decided to try it out. Fair warning okay? Mine is obviously not as neat and pretty. ^^


thebeautydepartment.com


I think my lemons need a little more love. 


Anyhoo, here's the stuff I used: Sassy Colors in Jungle Green, Twinkle in Mocha Malt, Klik in Regular White, OMG in Mojito, and OMG in Strobe for the top coat. I absolutely love Strobe. It just gives the nails a really cool reflective effect.

Enjoy your week! Cheerio!

Tuesday, June 11, 2013

I Nailed It #9: Red and Glitters

Hi! Happy Independence Day, if there is such a greeting.

Because today is a free day, I decided to play with my nail polishes. Free days like today is the only time I can properly put on nail colors because it can dry well, unlike when I put it on at night and wake up with messed up nails. ^^

I wanted to paint my nails with a patriotic design but ended doing my favorite gradiated red nails. But this time, I decided to coat my nails with clear polish with gold glitters.


I used: Sassy Colors in Neon Red, Jocarste in A61, and Twinkle in Glitter Gold. My nails don't look patriotic but they do carry some shades of the Philippine flag.

I put on a coat of the bubblegum peach color, did a layer of gradiation with the red color, then topped my nails with the glitter polish. Never mind if it'd be hard to remove. ^^

Cheerio!

Friday, November 9, 2012

An Attempt on Nail Art #3: Eyeshadow Nails inspired by Jung Saem Mool

Hi guys. I have this weird habit of dropping everything when I learn a new nail art, so my mom knows when I do because I run upstairs to grab the nail kit.

Anyway, a few hours ago, I learned this nail art from one of my favorite Korean make-up artists, Jung Saem Mool. It's a nail art that requires nail polish, patience, and eye shadow.

Watch how it's supposed to be done here. Don't worry, it has English subtitles. (Actually , I just watched it on my laptop. It seems as this one doesn't have subs, really sorry) =) But my phone can't read the subtitles, so I had to rely on gut feel and what my sister taught me.


So here's what it looks like. It looks kind of a light gradated nail art. You can have the color more intense, depending on how much eye shadow you use.

What I used:

Shiny Powder Eyeshadow in Blue
Sassy Colorless Nail Polish
A dipping bowl
Sponge Wedge

You can use any powder-form eye shadow. It needs to be powder because you're going to dip the sponge with clear polish on. You can also use any sponge. I suggest cutting it into a small piece about an inch long so it'd be easier to handle.

In the video, a base coat and top coat were used, but since I have neither, I used clear polish for both purposes.

Here's how to do it, at least how I did it: =)
1. Make sure your nails are dry and clean and put a coat of clear polish or base polish. Let it dry.

2. Put some of your powder eye shadow on a plate or bowl. Grab your sponge and put a coat of clear polish. To save your clear polish from becoming too glittery like mine, put the nail polish on a piece of plastic and dip the sponge there.

3. Dip the sponge immediately to the eye shadow. Make sure you do this fast since the nail polish dries up easily.

4. Dab as you like on your nails. When I did my ombre nails, a dip on the polish allowed me to coat at least 3 nails. But here, one coat of polish and one dip on the shadow is enough for only one nail. I tried using it on more than one nail and it didn't quite stick

5. Jung Saem Mool tapped the shadow on the nail to make sure it sticks, but what I did is run my nails under water. This would allow you to see what your nail would actually look like without the excess shadow. When you put on the top coat right after dabbing the shadow, the shadow would just spread on your entire nail, losing the effect. This also cleans your nails.

6. If you already like the color pay-off of the eye shadow, you can put on the top coat. But if you want a more intense color, repeat steps 2 to 5 until you get the color you want.

Hope you guys enjoy this like I did. Cheerio!